Phase 1
Pre-Conversion Checks
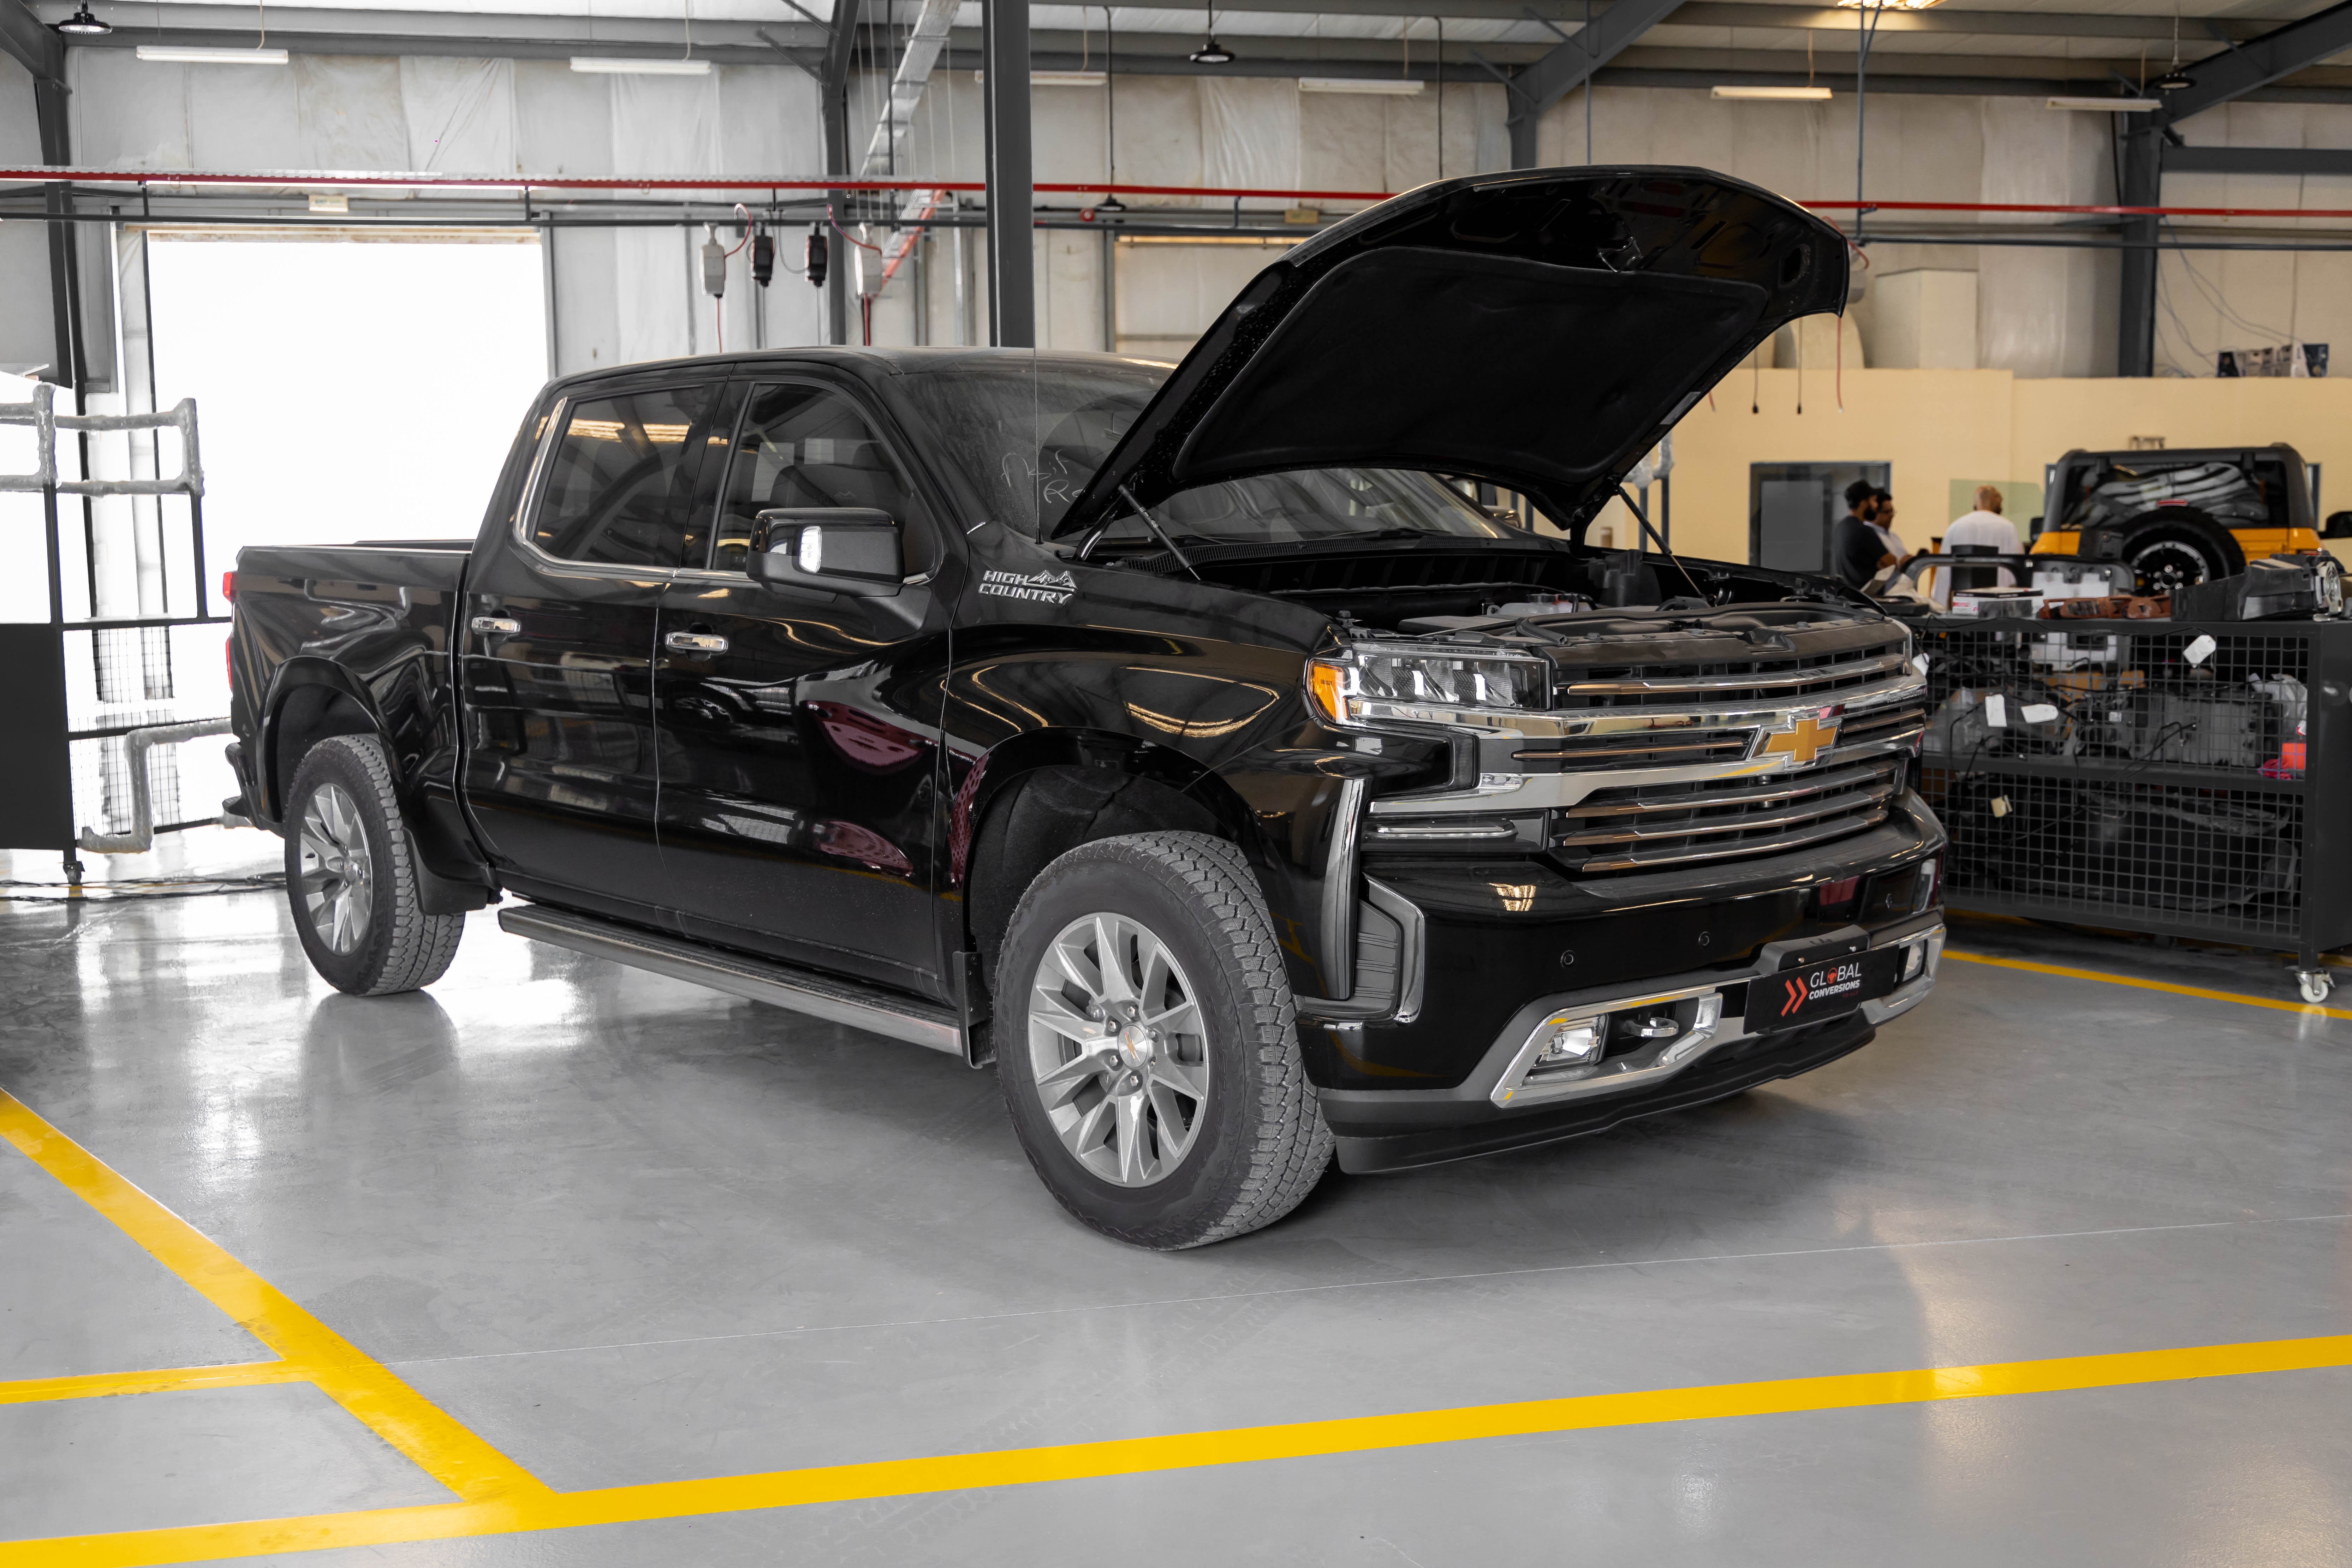
Once your car arrives, it’s cleaned and test-driven to identify pre-existing faults. Clients are informed before work begins, and repairs are made if needed.
Phase 2
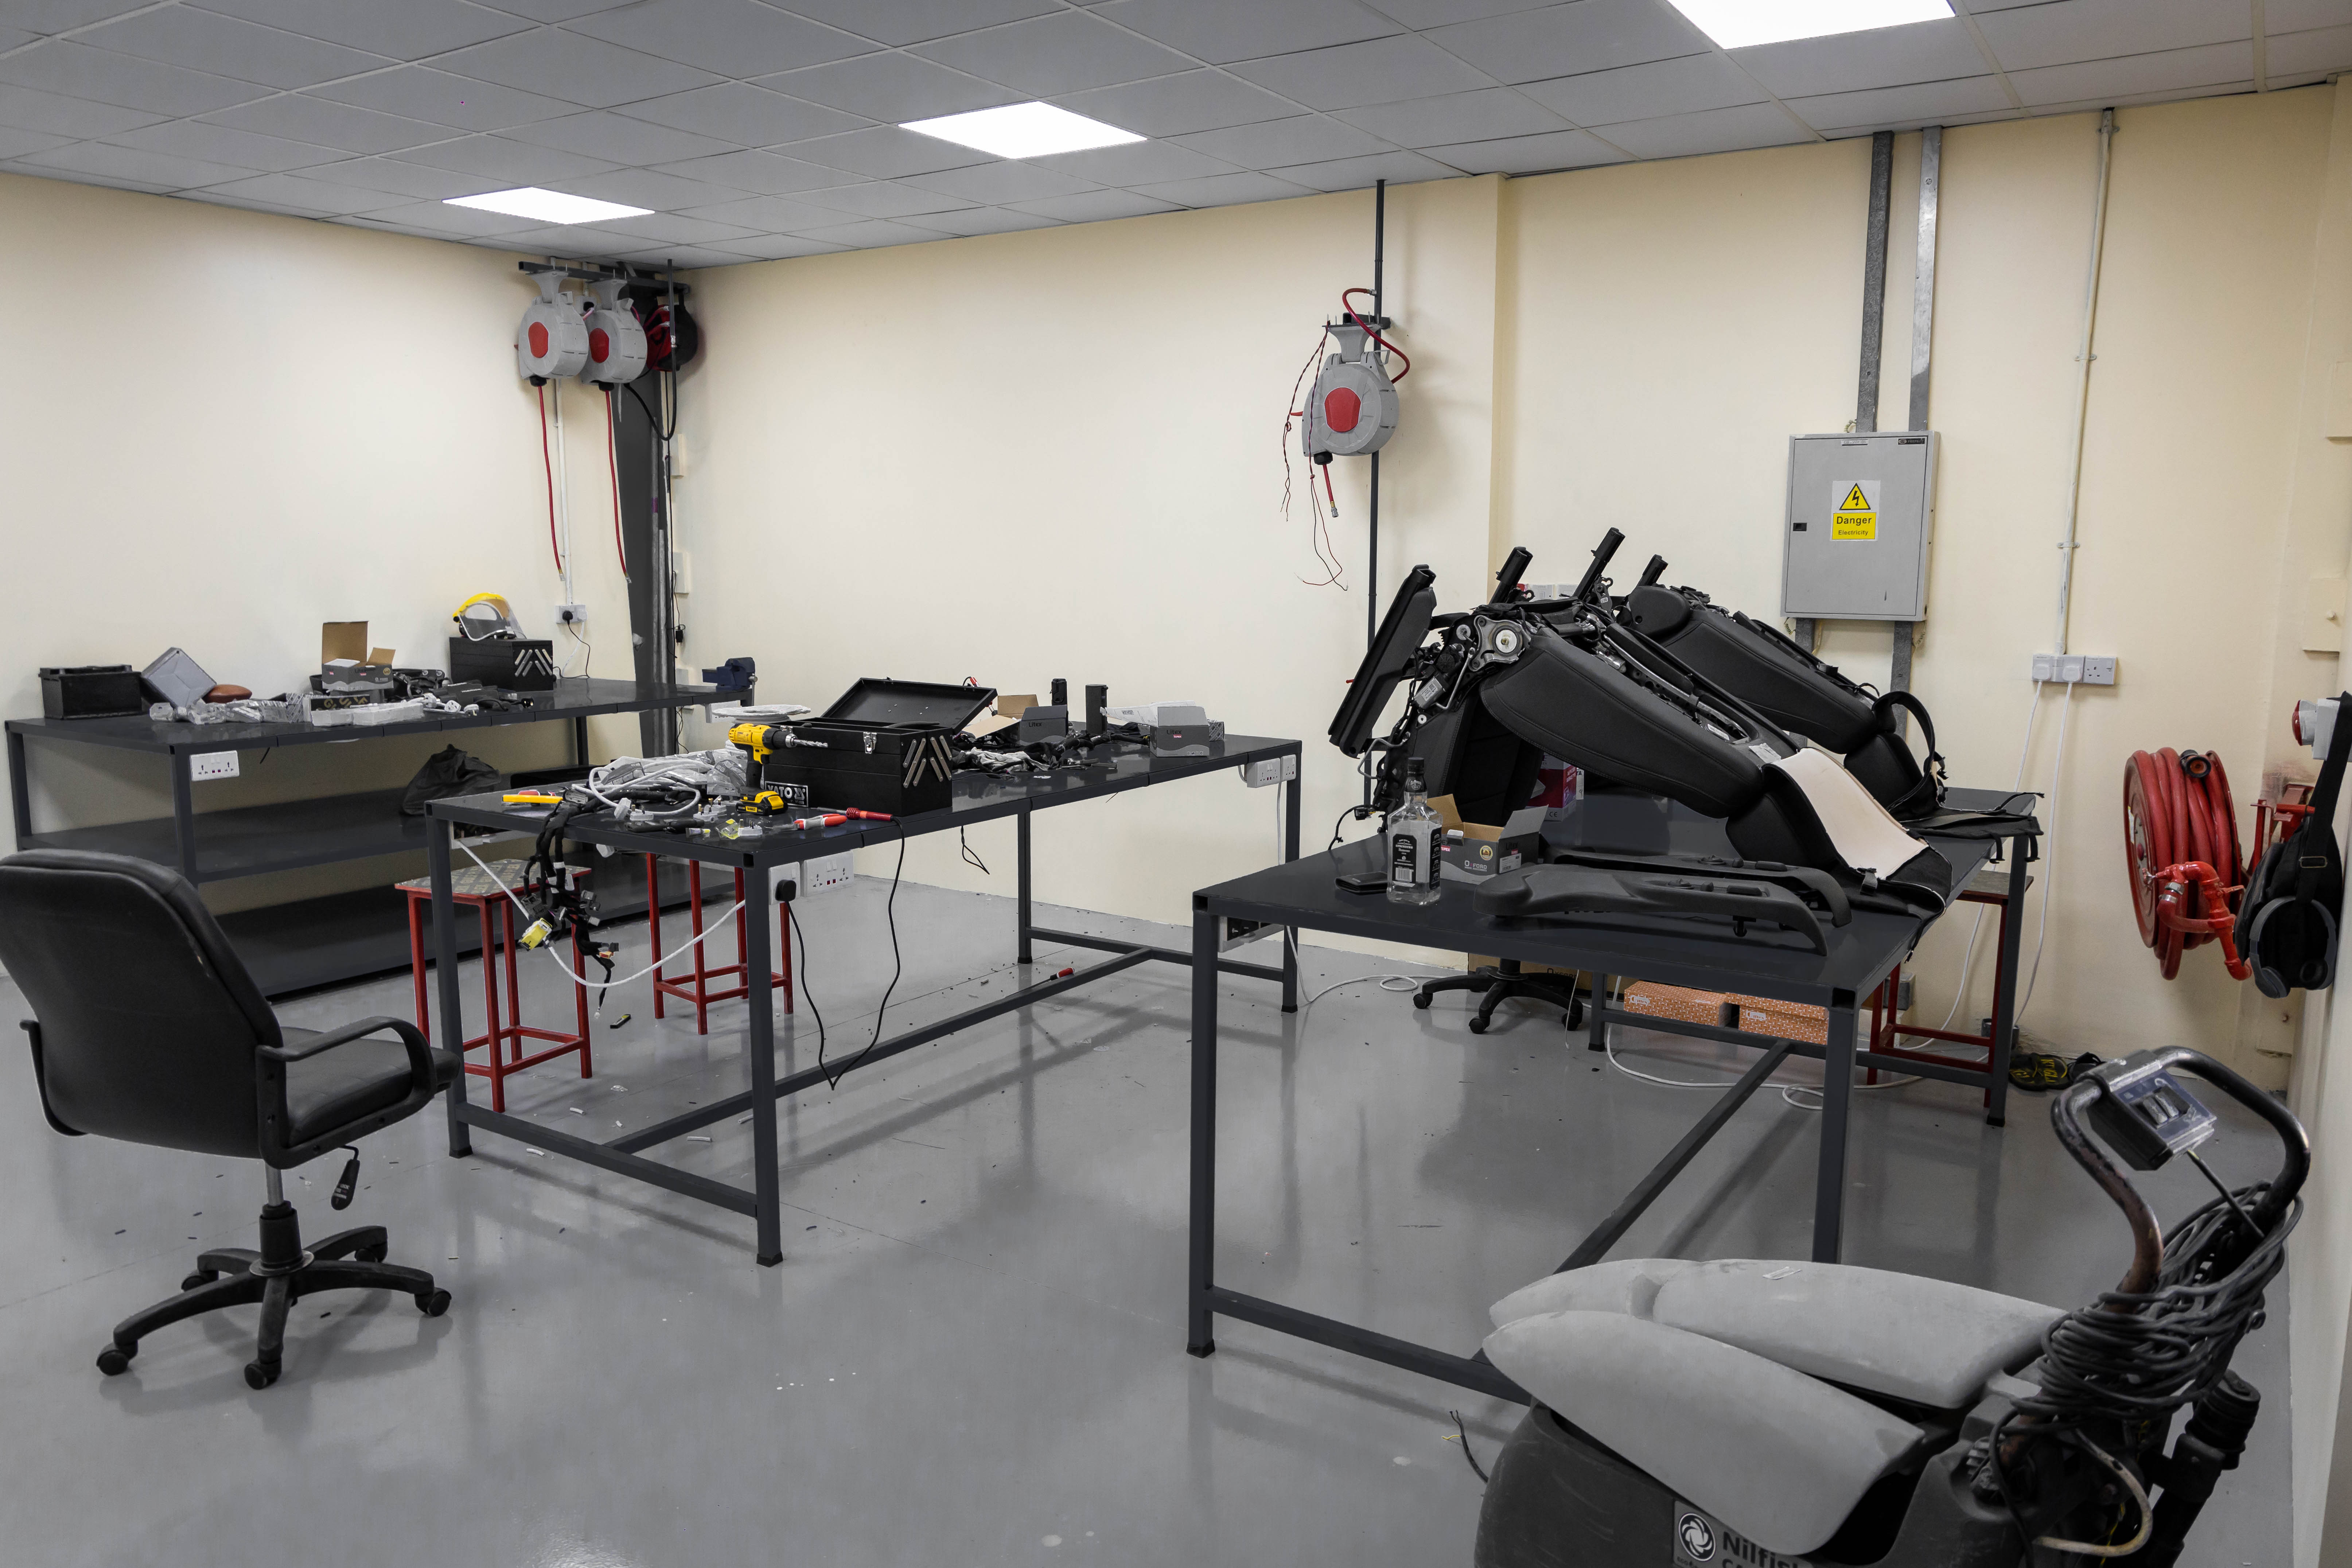
Dismantling
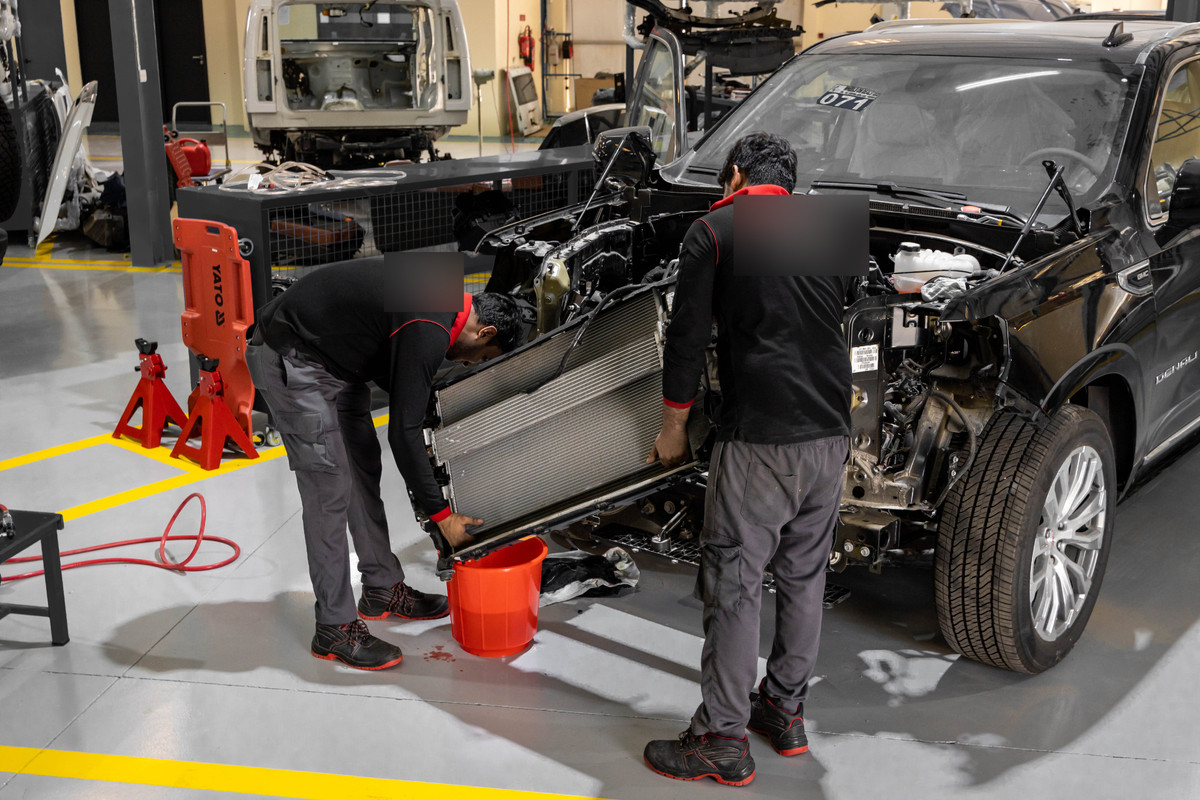
Mechanics dismantle parts starting with the bonnet. Each piece is bubble-wrapped, labelled, and stored in an organized rack. Delicate areas like the AC unit require special handling; refrigerant is removed safely for recycling.
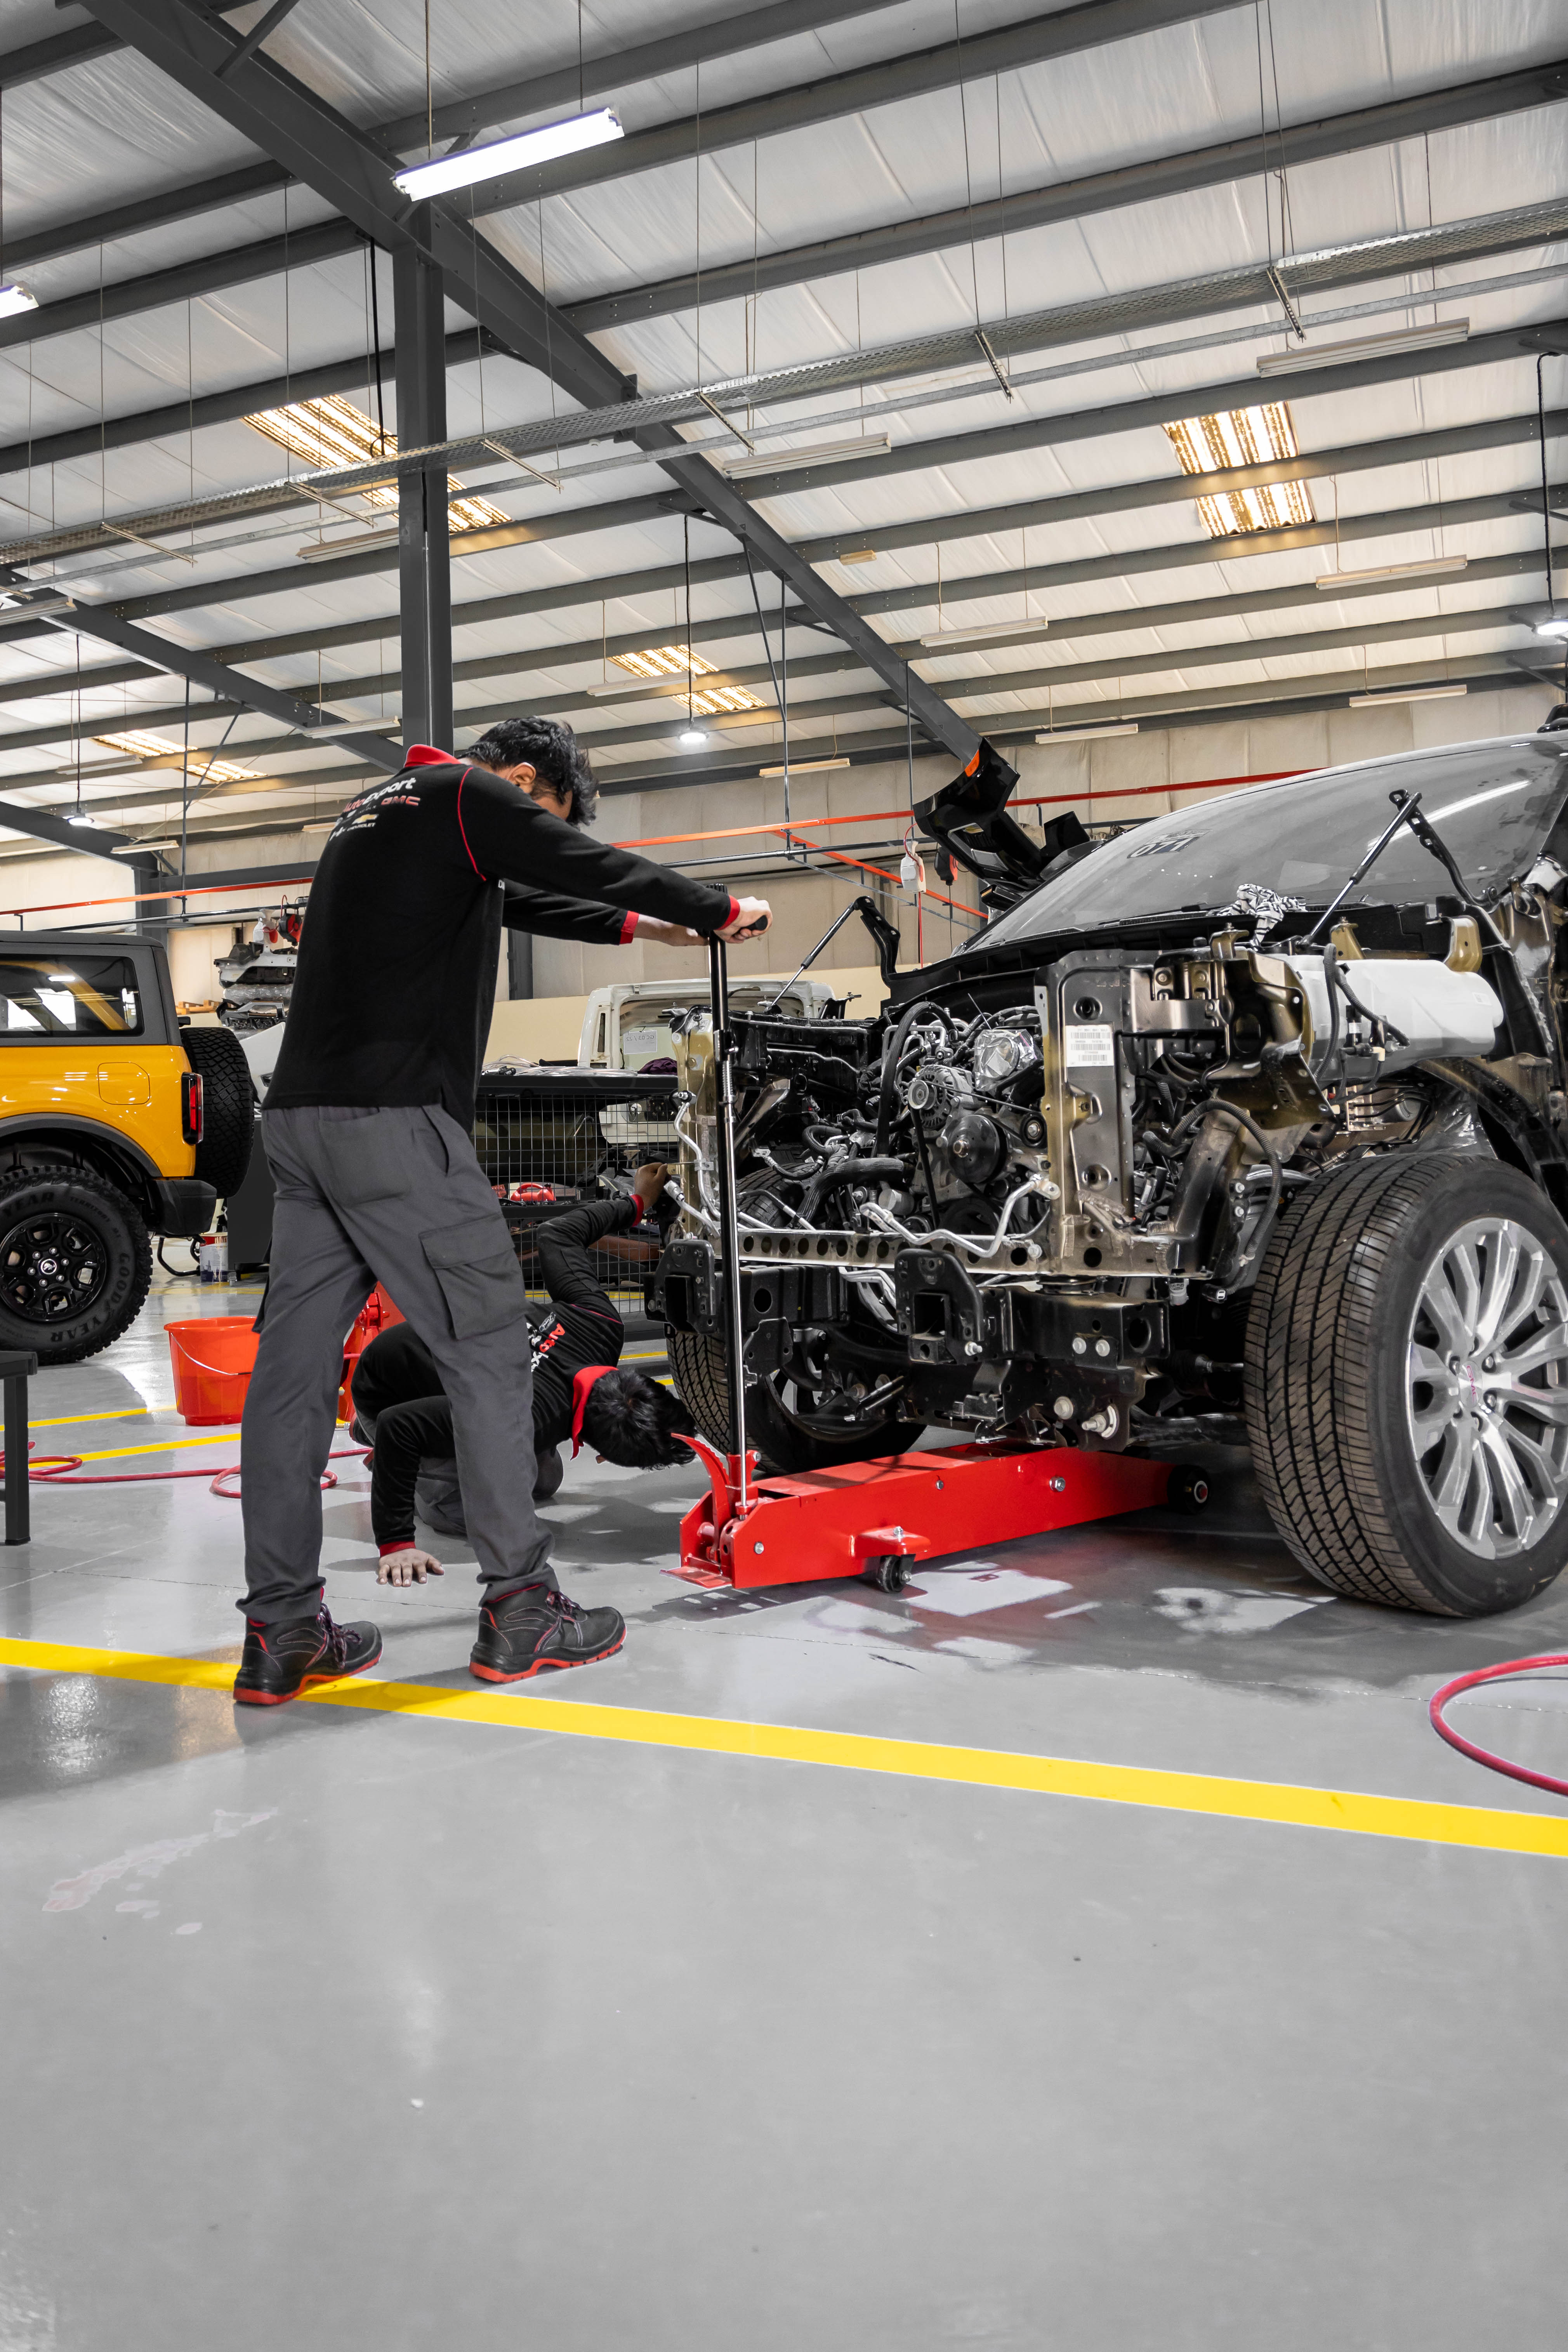
Phase 3
Welding
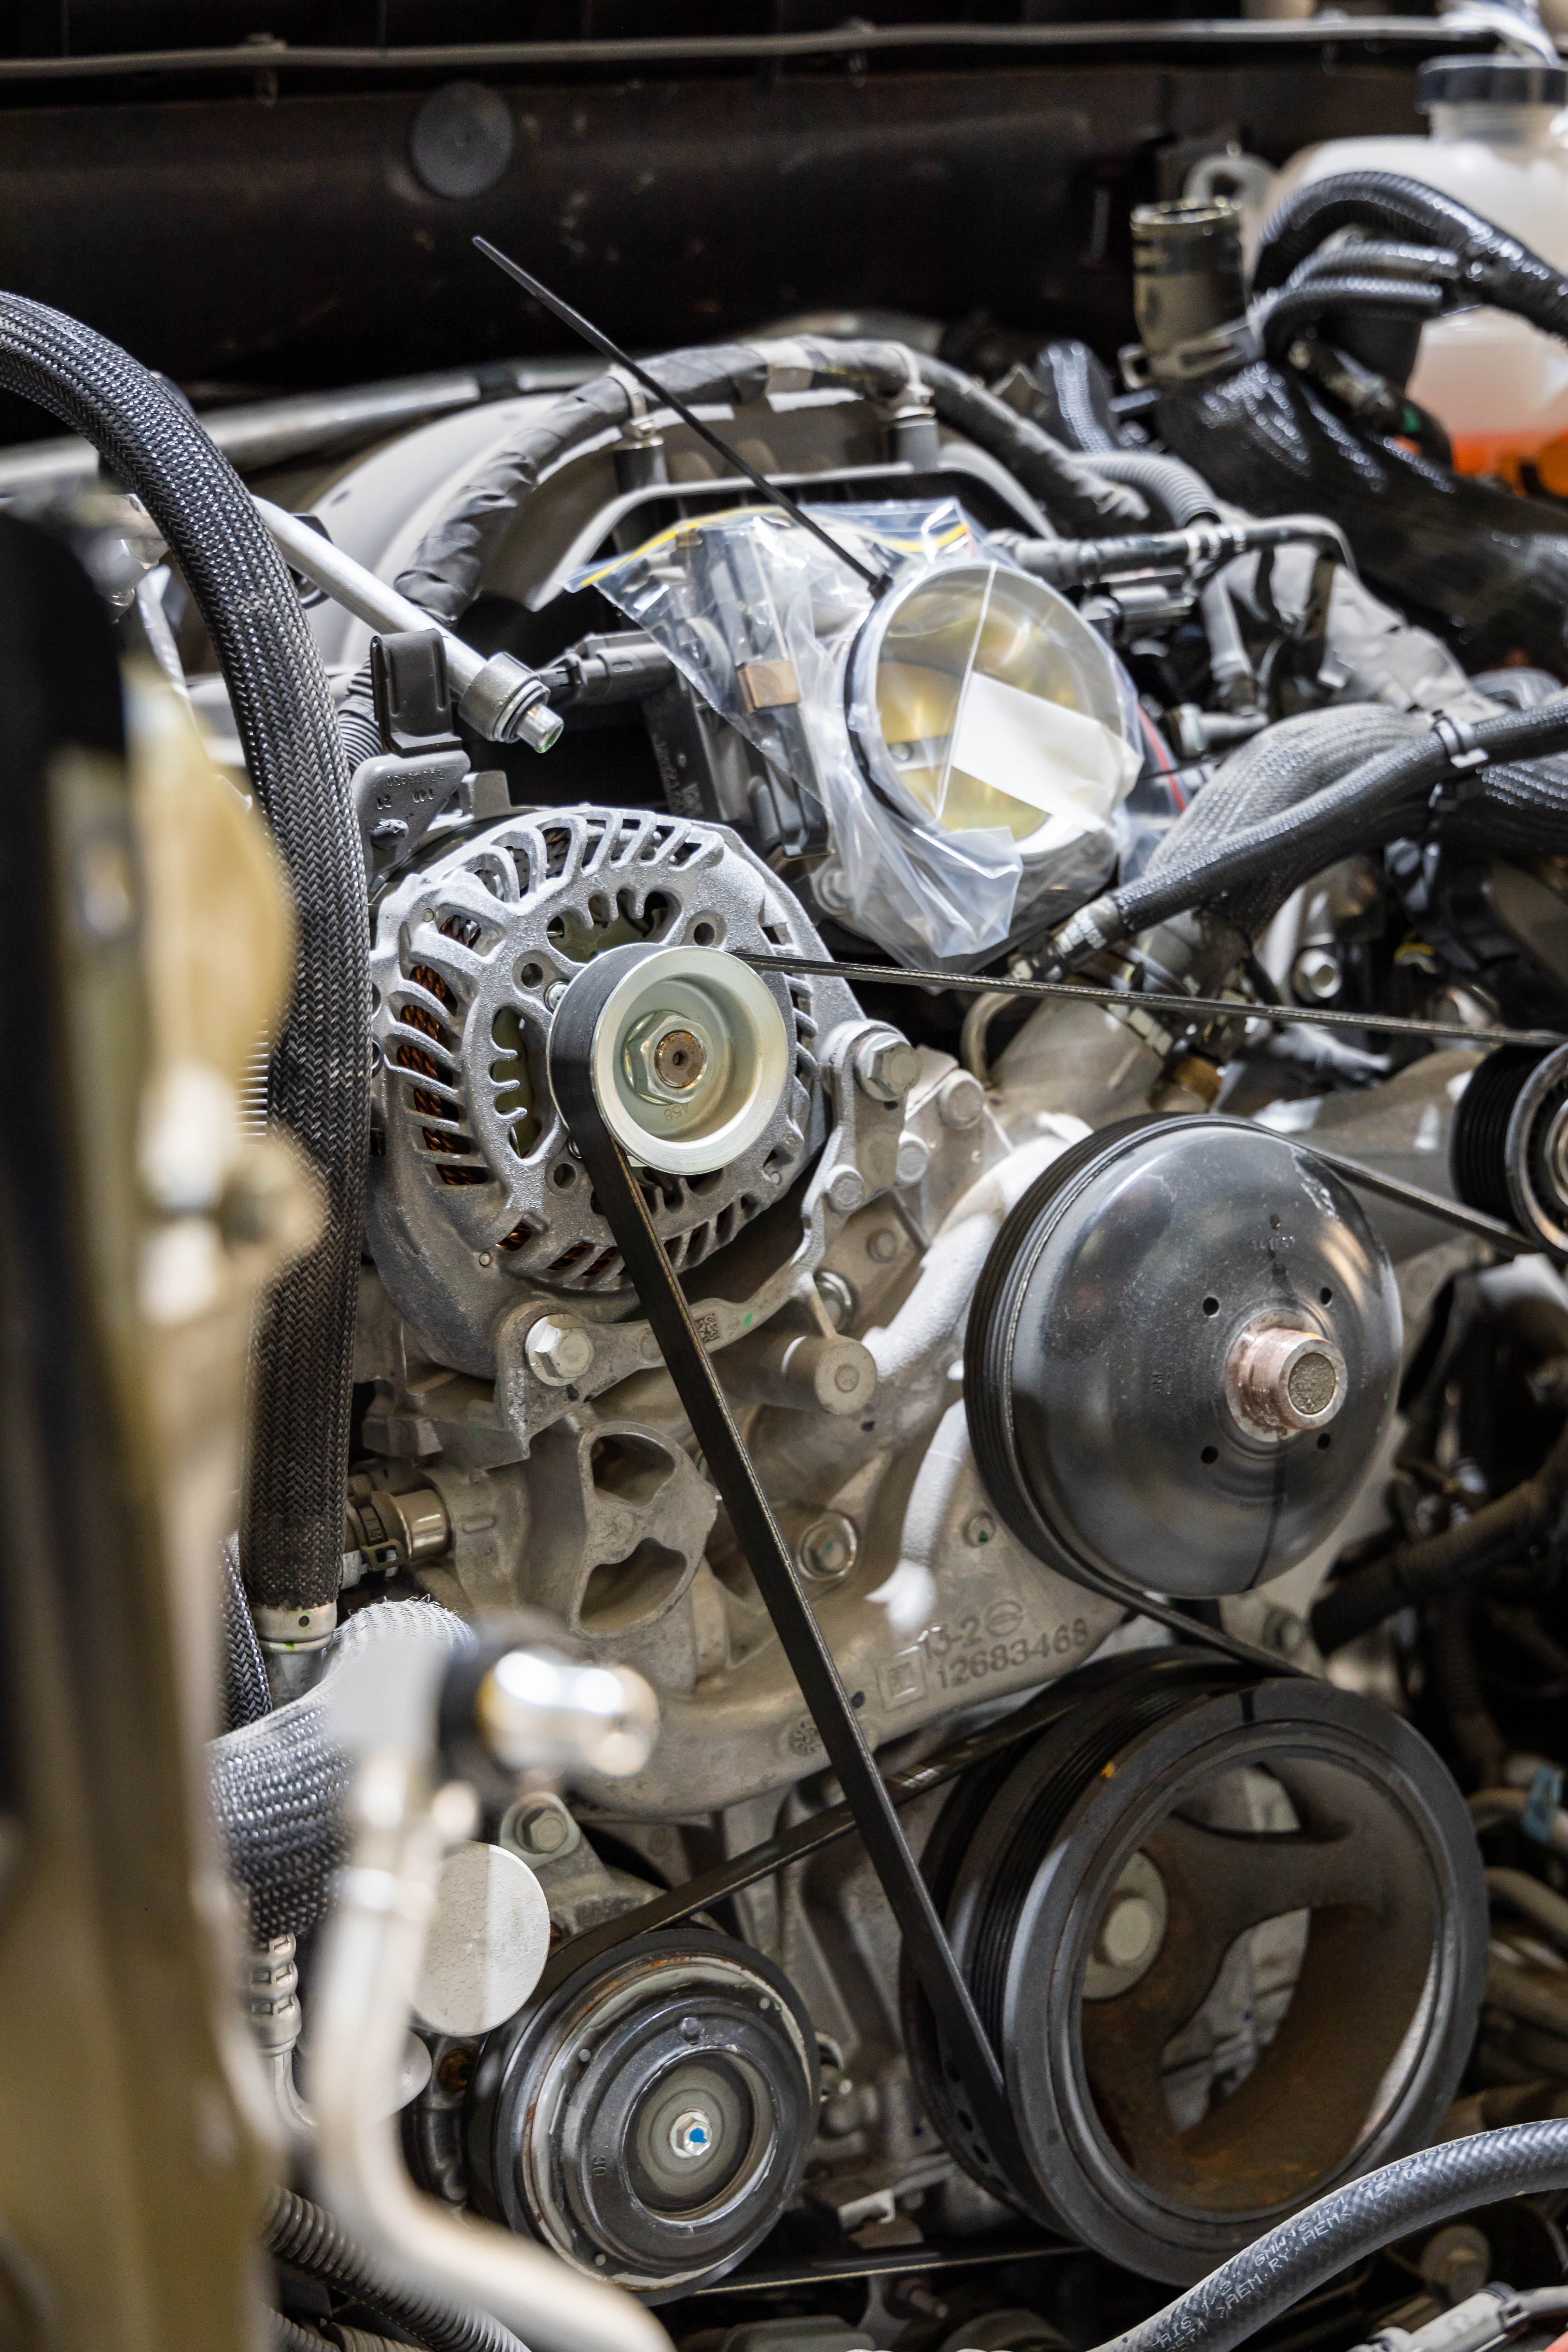
Steering components, airbags, brake boosters, pedals, battery systems, cooling, and wiring are relocated. Pipelines and looms are extended. OEM parts are used when available; otherwise, custom-made in-house. Joints are chemically tested and the chassis is repainted.
Phase 4
Technical & Electronics
Wiring looms are extended and electrical systems—like wipers, mirrors, headlights, and seats—are adapted for the new layout to perform seamlessly.
Phase 5
Upholstery & Fiber
Interiors are matched to the OEM’s texture, quality, and colour. Clients may also choose custom fabrics or colours during conversion.
Phase 6
Assembly & Paint
Mechanic teams reassemble the vehicle using sorted parts. The underside is double-checked using a hoist. Painting is done in a ventilated booth to match OEM palettes—or a custom spec of your choice.

Phase 7
Final Checks
Before handover, the vehicle is fully valeted and test-driven again, ensuring build quality and safety standards are met.